Our house is like a cabin in the woods. We are in a commercial district on the edge of town and ten minutes from the malls, but the deer come through the back yard and there is a ruffed grouse who thinks he owns the place, especially a few female ruffed grouse. My wife decided, and rightly so, that plastic planters are out of place here so I decided to turn a couple. It is a great exercise in end grain turning. There is a huge hole to clear shavings and there is no crucial form to worry about. Besides which, there is no reason to turn it ultra light since it has to hold a fair amount of soil. Incidentally, I expect only a season or two out of it before it joins the compost pile. Wood + water + soil = rot. Why epoxy it and all that when I can turn another one and wood should be allowed to return to the soil anyway?
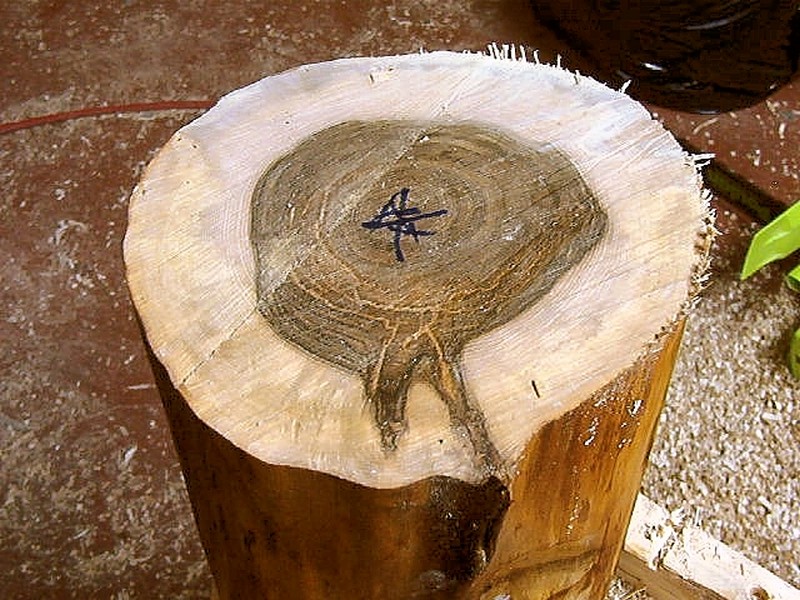
I chose a piece of red maple from the outside pile. It is about 15" long and a bit over 10" diameter. I have decided to make a pot about 10" diameter x 7" to 8" high. Allowing for room for screws for a faceplate later, and an inch for play, I mark the log at 10" and cut it with a chainsaw. The off cut gets a coat of anchorseal on the freshly cut end as I am not sure when I shall get to it.
II mark the center at both ends to prepare for the lathe. Theoretically, I should be able to put the piece well centered on the lathe. However, I estimate that I will have 20 to 25 pounds of wood to hold under one arm while I line it up on the lathe. Why make life hard? I just measure a few diagonals on each end with a tape and mark halfway. Somewhere in the center of those marks is the true center of the piece. It is close enough for horse shoes, hand grenades and a turning block.
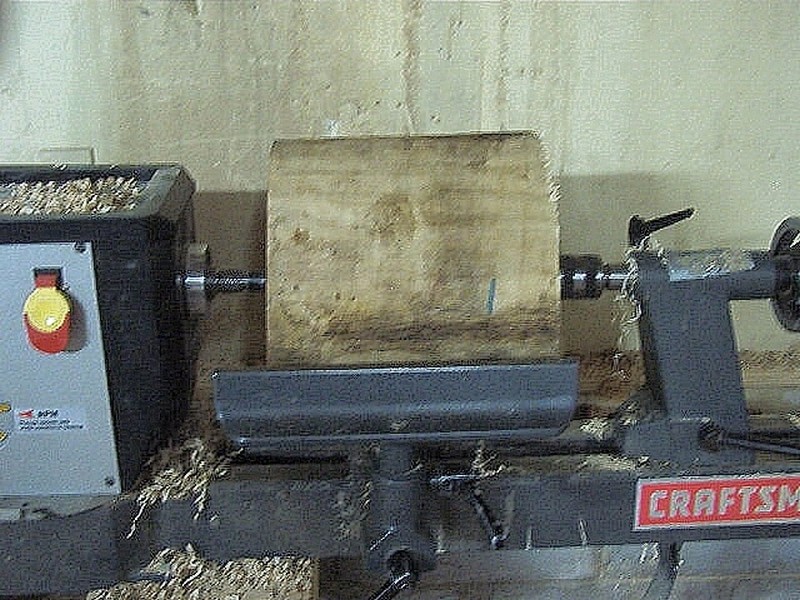
I put it between centers on the big Craftsman and prepare to turn. I am able to adjust easily to about 600 rpm without vibration. On the other hand the lathe weighs close to 200 pounds and is bolted to the floor.
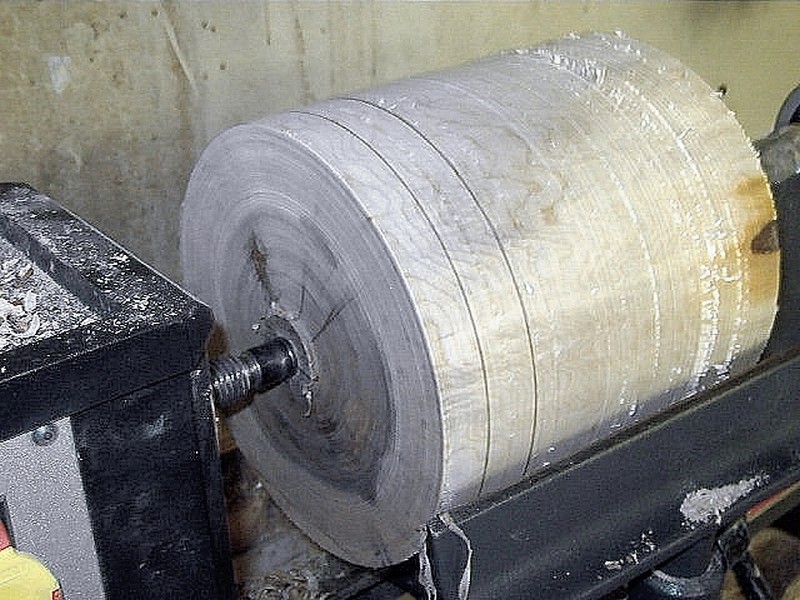
Using a 1/2", home made bedan, I turn it round and flatten off the bottom in preparation for a face plate. I have marked depth for screw and clearance for parting and such to indicate where to turn the bottom. I turn in at the proposed bottom of the piece to allow my eyes a better feel of the final shape. If the bottom is not indicated, the eyes are tricked into following a remaining curve.
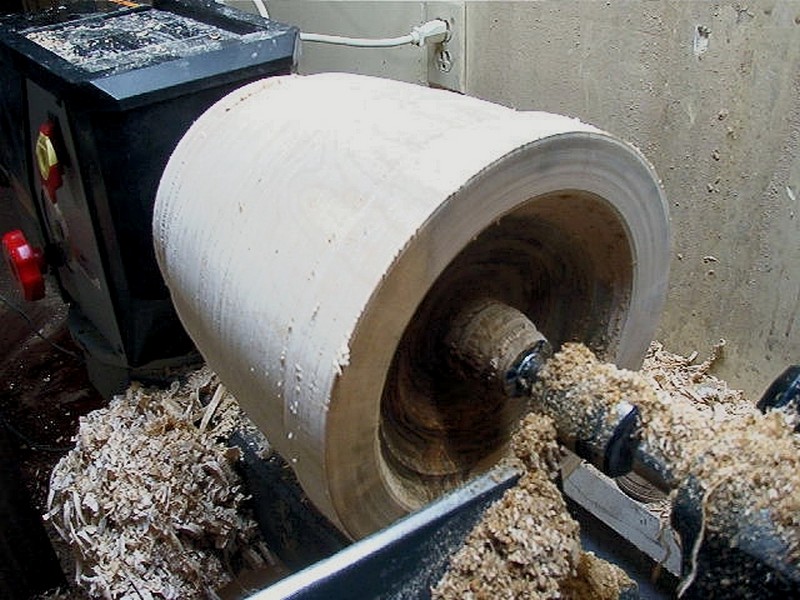
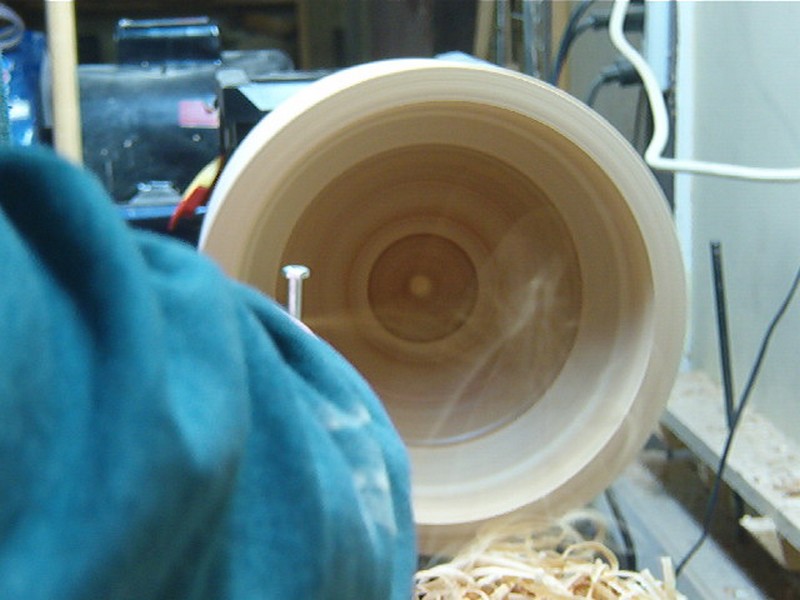
Since I intend to hollow as much as reasonable from the inside to reduce as much weight as possible before moving to a face plate at which point I will true up the outside and refine the inside, I am not worried about the smoothness of the outer wall. Here I am part way into the hollowing using a 3/16" Oland with a hollowing grind.
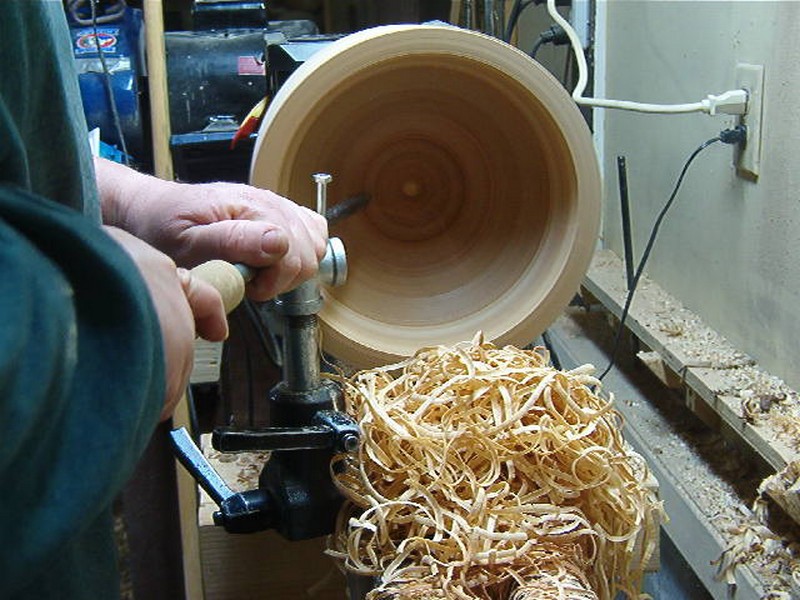
It is not long before I decide this is a poor way to hollow end grain. There are lots of dust and few shavings. So I part off the cone and get rid of it. The piece is put onto a faceplate, remounted and trued. Then I go to a hook tool and find that the 1/2" shaft is too light for the distance and chatters on the wood. The solution was to make a 3/4" shaft and a pivot rest for hook work.
This is typical of the shavings from the hook tool. I like to make a couple of extra tips when I make one. Catches are possible and the tip can bend in a piece this big. A few times I had to cut through knots. Keep your speed low and ride the bevel.
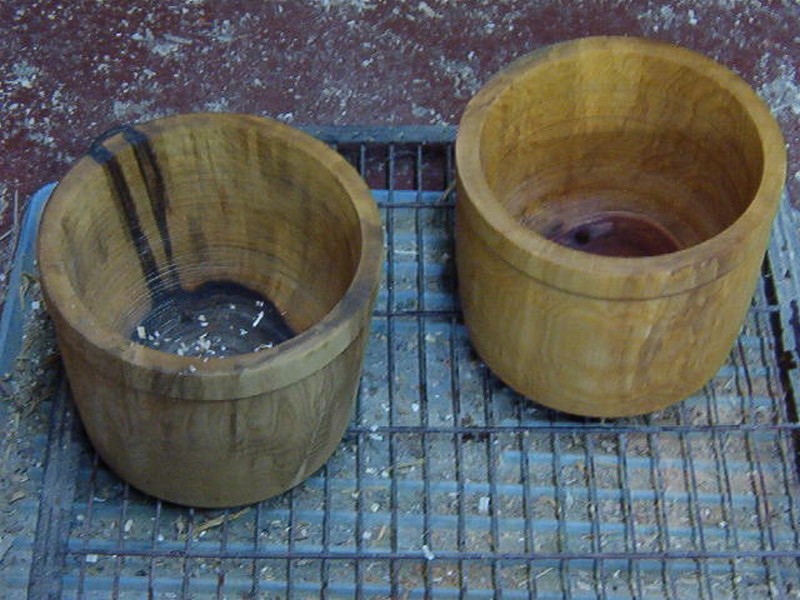
All that was left was to finish hollowing, sand the outside and part it off. A couple of coats of double boiled linseed oil and a week or so to sit and it will be ready for planting, if and when spring comes. Incidentally, I did not bother to cone out the second. I just mounted to the faceplate and used the hook tool. It is faster and a lot more fun.
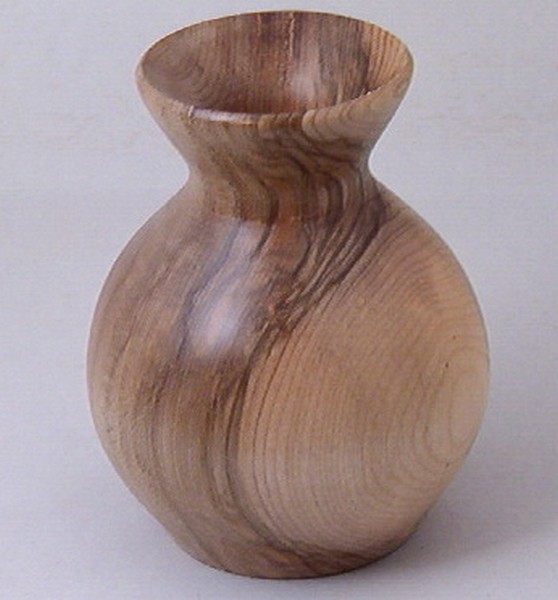
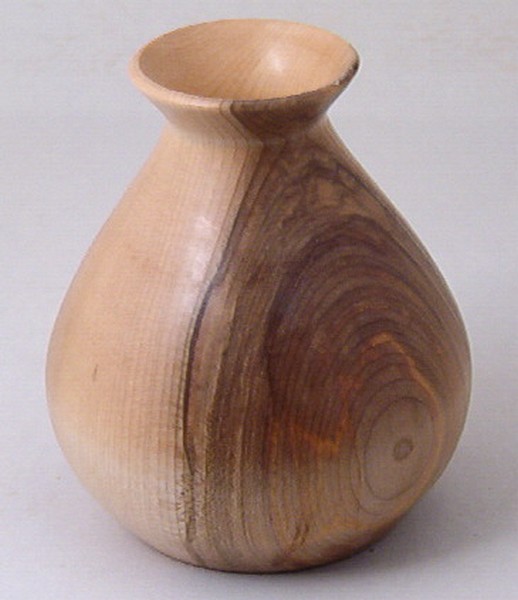
I should have taken pictures of the procedure, but all I did with the offcut was to cut around all the obvious cracks and got four blocks for vases. The intention was to turn all of them to similar vases about 4" tall x 3" wide with a wide body and flared top. Remember that these were cut from the end of log that may have surprise cracks that are hard to see. The first turned as expected.
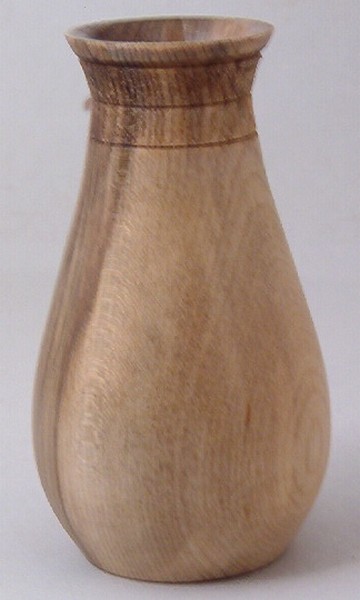
A crack in the upper area of his vase resuted in the rim disappearing somewhere into the shop and lowering the resultant shape by about an inch. I decorated the resulting rim with a few rings.
Here I was able to chase the crack into the rim area to have a vase with a reduced flare.
This is what happens when a piece about a half inch thick goes flying over your shoulder. It is a good reminder to wear a face mask while turning. I was rounding the piece between centers at the time, so I shifted it a bit to get maximum wood out of the remainder and got a vase about 4 1/2" tall by just over 2" wide. I textured a couple of bands around the top.




0 comments:
Post a Comment